sussex

Walmer Castle Stone Works

This week we hear from our Stonemason Foreman Paul, who recently worked for REDEC’s busy Refurbishment department on Walmer Castle near Deal in Kent…

walmer 3

Scaffolding carefully going up to the problem areas.

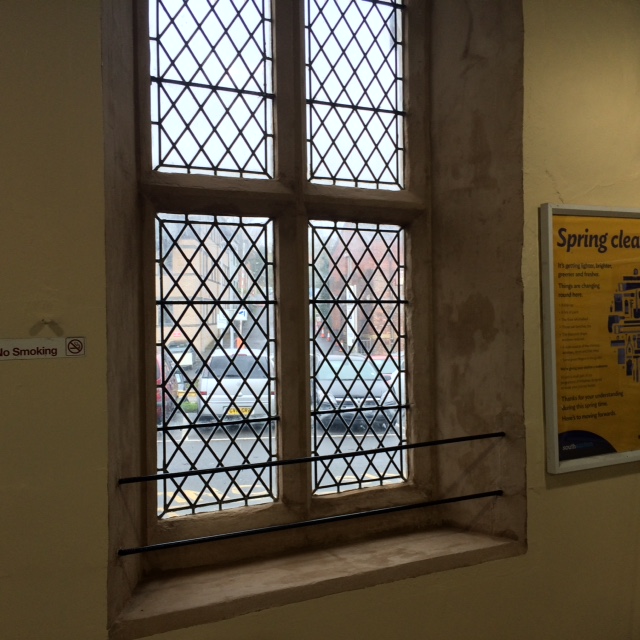
During the works a number of leaks were found, these were traced back to two different windows. It was found that a combination of issues had caused the leaks; a box gutter that was getting overwhelmed during heavy rain and historic stone repairs that had been undertaken by the former keeper of the castle, the Ministry of Works.

walmer 4

The Architect first inspecting the in situ mortar quality

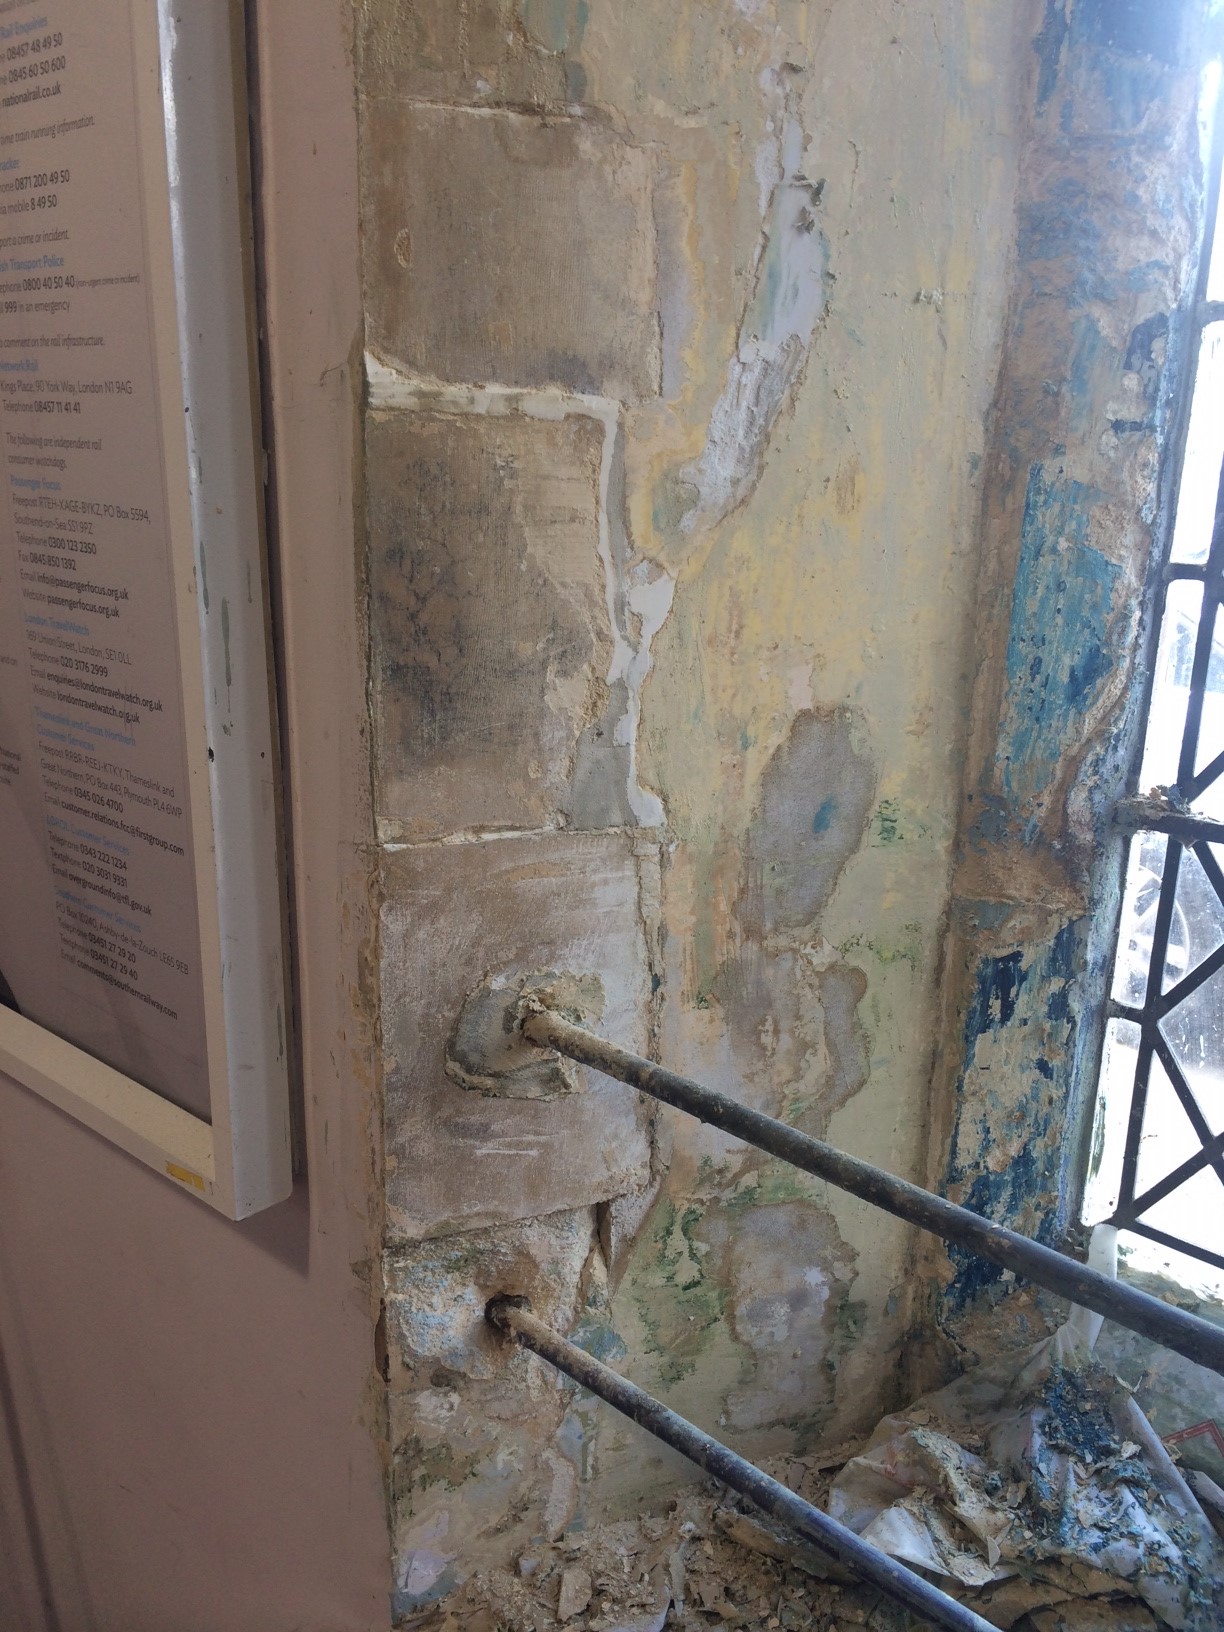
As you can see in the photo a number of stones had been repointed in a cementitious mortar. This form of mortar would have been relatively new to the market during the early to mid-20th Century and the dangers of using such mortar was not known at the time. The mortar dries far harder than lime mortar (which should be used), it prevents nature moisture from leaving the stones, which leads to frost damage and cracking and its removal can also damage the in situ stones.
The other main issue with the cementitious mortar at Walmer is that it is not decoratively consistent. The original pointing was ‘galleted’, which calls for locally collected flints to be ‘knapped’ (cut into shards) and placed decoratively into the mortar beds. The ‘gallets’ are then stacked and cut to match the size of each respective stone in a decorative fashion. Part of our project here was to remove the faulty cementitious mortar, replace with a lime mortar (colour matched using ash and clay) and then ‘gallet’ throughout to match the mason’s patterns dating back to when the castle was originally built in the Tudor era.

walmer castle

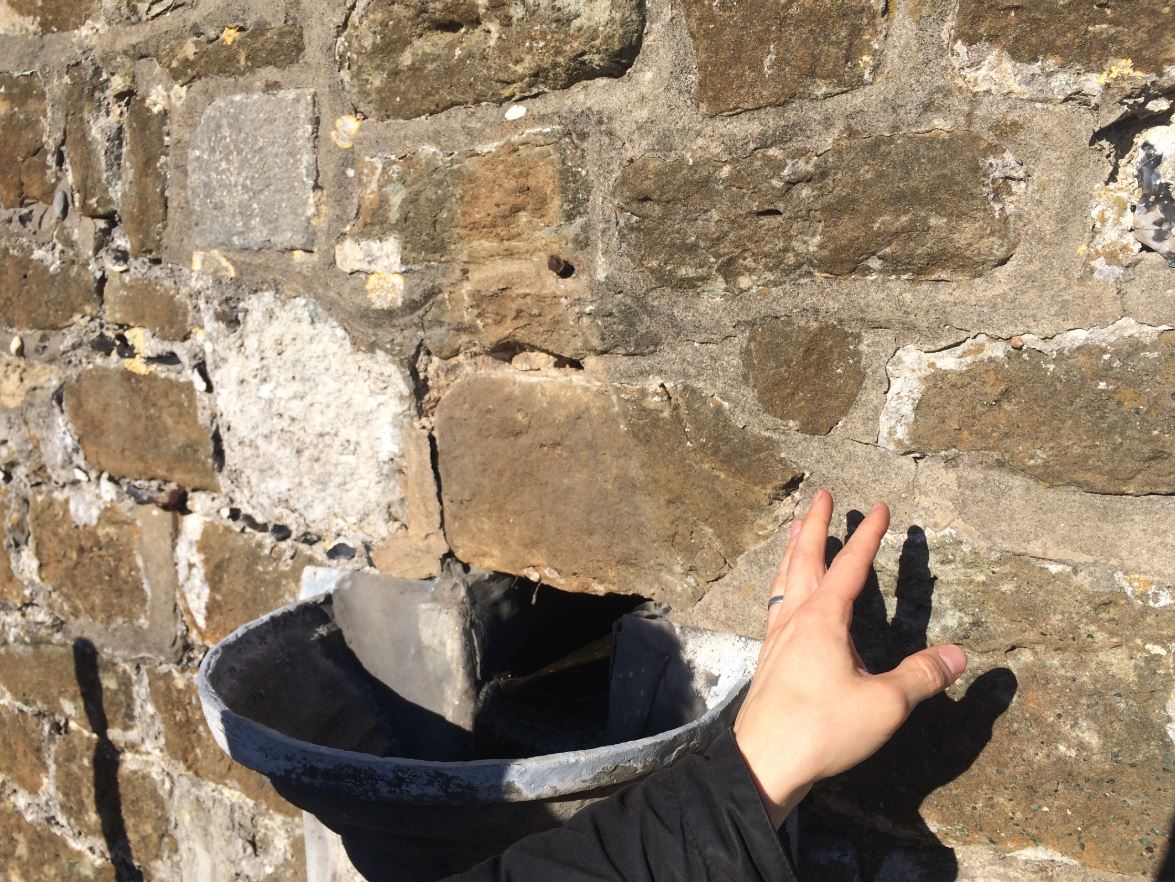
Various photos showing the process at hand. Our excellent stonemason Rob is working around the lead hopper in the last photo.

The first task in repointing stonework is to accurately (to as far as reasonably possible) test what the makeup of the in situ mortar actually is. Sandberg LLP was appointed to test the mortar; they found that the mix used originally was a 1:1 mix of non-hydraulic lime and local sand. A similar mix was used, along with some fired ash and a hint of clay to colour the mortar to match the patina of the in situ mortar. Our stone masons used sand procured from a local supplier in Dover and added small quantities of the original mix back into the new mixes.

walmer

Our top notch stonemason Gary working hard to carefully remove the cementitious mortar

We then carefully removed the modern cementitious mortar, which luckily had not damaged the stones too much. Once the mortar had been mixed and the colour/finish approved by English Heritage and the Architect, the next task was to ‘knap’ the locally sourced flints to replicate the Tudor gallets. Knapping can take a considerable amount of time and can be very dangerous; fortunately our stonemasons are highly skilled for such tasks.
The finish as you can see below shows how well we matched the existing stonework and helped conserve this important scheduled ancient monument.

walmer castle

Paul our excellent stonemason had been with REDEC for over 9 years and first undertook his apprenticeship working on Westminster Cathedral some 30 years ago.

East Sussex Railway Station Repairs

The ‘R’ word is often a no-no in our industry (the word being ‘Restoration’) and though its use is frowned upon, the public at large recognise the word to mean working on heritage properties. It was William Morris (founder of SPAB) that said:

“It is in the interest of living art and living history that I oppose so-called restoration. What history can there be in a building bedaubed with ornament, which cannot at the best be anything but a hopeless and lifeless imitation of the hope and vigour of the earlier world?”

Though this unfortunate paradox exists (and we note the name of our blog too!), we can say that a recent project we worked on did call for actual restoration. When Morris was writing about the fake restorations of the Victorian period, he was complaining more about the process that he was witnessing then, so to skip forward 100 years to now we can make the same complaints but we can now strip back these modern and faulty additions to actually ‘restore’ what in all probability is actually there.


Taken from Wikipedia, a view of the station from the mid 20th Century

The project in question was our recent works to a small railway station in East Sussex. Our task was to work on the booking hall and waiting room of this station, to strip away the modern finishes that had poorly served the building and to restore it to how it would have looked from photographic evidence obtained. I wanted to share two key areas with you…


fireplace

The original fireplace finished with an oil-based gloss paint

First we considered the fireplace, which had been constructed from Bath stone. On inspection, it had been painted with umpteen coats of standard undercoat and gloss. Further tests outlined that no lead paint was present, which is a key safety point for paint removal. Using the poultice method of paint removal (which is the most efficient method for not damaging the substrate of your project), we removed over 9 layers of paint before we hit a problem. Under the paint existed a thick coating of bitumastic. The chemical we used to remove the paint could not touch it and only appeared to move it around and create a treacle like substance. Unperturbed as we had encountered this before, we managed to carefully remove the thick covering using an alternative stripping product. Soon the bitumastic was completely removed and graffiti that had probably been hidden was once again revealed after over 75 years or more hidden under the sticky coating (such was the careful deployment of the stripper by our staff).


photo 4

The horrible bitumastic coating underneath was exposed. A product that was readily available in the railway industry as it was used to coat the railway sleepers and various track plant


The finished fireplace

The finished fireplace complete with characterful Edwardian graffiti

The next area of consideration was the windows, particularly their reveals. The windows reveals had been painted with a vinyl paint coating, which is highly unacceptable for the lime rendered walls. The vinyl had created a barrier upon which the walls could no longer breath, this was further accelerated by the contents of various isolated repairs which had been undertaken throughout.


This photo shows the extent of the modern fillers that were plaguing the building - note the beautiful quoin detailing too

This photo shows the extent of the modern fillers that were plaguing the building – note the beautiful quoin detailing too

Stripping back the paint coatings, we found uses of modern polyfillers, gypsum and sand/cement, all of which are non-compatible with lime rendered walls and stone rubble-core interiors. The paint and repair combinations had effectively locked in the damp from the exterior walling that otherwise would have dispersed naturally. We then carefully removed the foreign items from redecorations past, and carefully filled with a similar mixed NH lime plaster. On completion we applied several coats of a coloured lime wash to allow the walls to breath once again. We also undertook a number of other conservation repairs and redecorations before handover to the client, for which we will comment on in another blog. However for now, these two items for this project go to prove that the ‘R’ word is not all that bad after all…


Note the moisture starting to travel from the substrate in the newly restored reveals

Note the moisture starting to travel from the substrate in the newly restored reveals


A blog by Project Manager Chris, who is a chartered surveyor and builder who works within our refurbishment and building department.